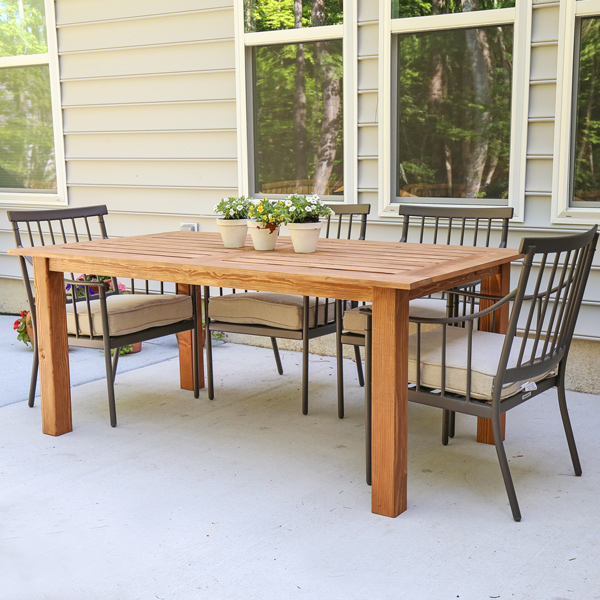
How to Build an Outdoor Dining Table
Nothing beats relaxing outdoors, enjoying a delicious meal with friends and family. An outdoor dining table is a great way to take your outdoor living space to the next level. With the perfect table, you can enjoy your meals and make lasting memories without going to expensive restaurants. Fortunately, building an outdoor dining table is a relatively simple project that can be completed in a weekend.
In this article, we will guide you on building an 8-foot outdoor dining table that can comfortably seat 6-8 people. The table is made of durable cedar wood, which is naturally resistant to rot and decay. We will also provide you with a detailed cut list and step-by-step instructions to make the process easier.
Materials:
- 1 4x4 cedar post for legs (cut to 29.5 inches long)
- 2 2x8 cedar boards for top (cut to 96 inches long)
- 4 2x4 cedar boards for aprons (cut to 96 inches long)
- 1 1x6 cedar board for center support (cut to 96 inches long)
- Wood glue
- 2-inch wood screws
- 1-inch wood screws
- Brad nails
- Sandpaper
- Polyurethane or exterior paint (optional)
Tools:
- Circular saw
- Drill
- Miter saw or miter box
- Clamps
- Level
- Measuring tape
- Safety glasses
Step-by-Step Instructions:
- Cut the Legs: Cut the 4x4 cedar post into four equal pieces, each measuring 29.5 inches long. These pieces will form the legs of the table.
- Assemble the Apron: Place two of the 2x4 cedar boards parallel to each other, spaced 28 inches apart. Attach the remaining two 2x4 boards perpendicular to the first two, forming a rectangle. Secure the joints with 2-inch wood screws and wood glue.
- Attach the Legs: Center the apron on the legs and secure it with 2-inch wood screws. Make sure the legs are flush with the bottom of the apron and the apron is centered on the legs.
- Install the Center Support: Position the 1x6 cedar board in the center of the table, parallel to the aprons. Attach it to the apron with 1-inch wood screws.
- Attach the Tabletop: Place the two 2x8 cedar boards on the center support, spaced evenly apart. Secure the boards to the center support with 2-inch wood screws and wood glue. Countersink the screws and fill the holes with wood filler.
- Sand and Finish: Sand the entire table with sandpaper to smooth any rough edges or splinters. Apply polyurethane or exterior paint to protect and finish the table.
Congratulations! You have successfully built your own sturdy and stylish outdoor dining table. Now, you can enjoy your meals outdoors in style and make lasting memories with your loved ones.
:max_bytes(150000):strip_icc()/cherishedbliss-2fe16e06a68b44589c6631e6b39ae68f.jpg?strip=all)
18 Diy Outdoor Table Plans

Rachel Schultz How To Build A 75 Outdoor Dining Table

Outdoor Dining Table Kreg Tool

Diy Outdoor Dining Table Restoration Hardware Dupe Thrifty Pineapple

Outdoor Dining Table Plans Houseful Of Handmade

Outdoor Dining Table Kreg Tool

Diy Outdoor Table Angela Marie Made

20 Diy Outdoor Table Ideas For Your Deck Or Patio The Handyman S Daughter

Diy Simple Outdoor Dining Table The Awesome Orange

Building An Outdoor Dining Table Erin Kestenbaum


